Introduction
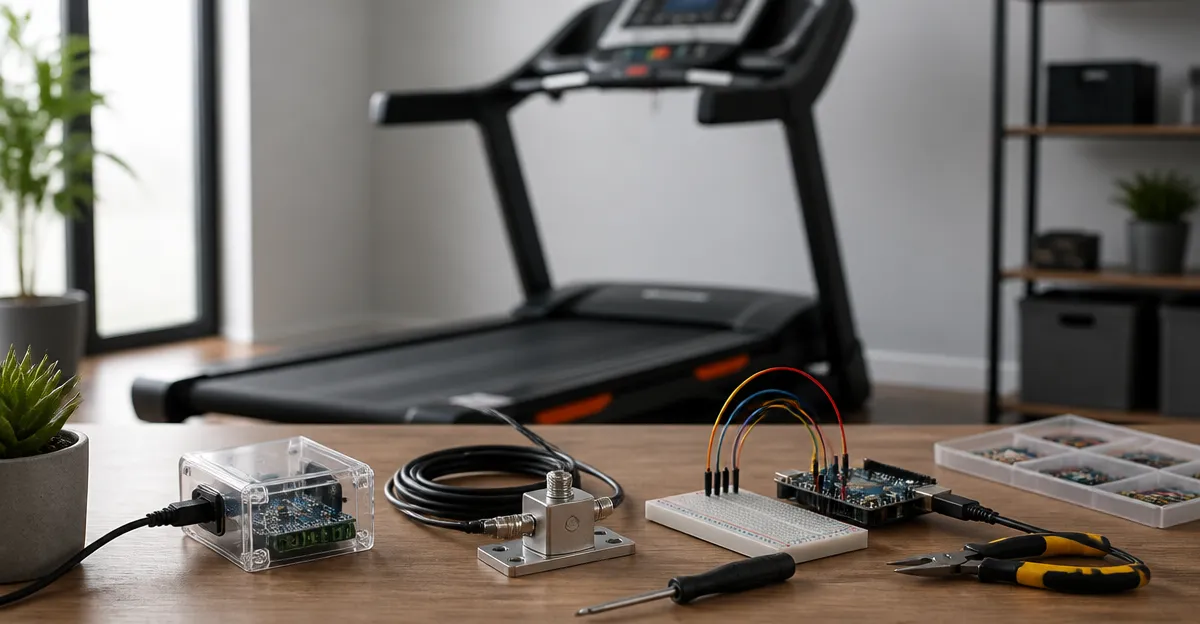
The modern treadmill is a complex electromechanical device that benefits from continuous monitoring of vibration levels. Excessive vibration can indicate bearing wear, misalignment, or structural fatigue, which may lead to costly repairs or safety hazards. This guide explains how to construct a DIY vibration sensor system that detects abnormal motion, alerts the user, and prevents damage before it occurs. By following the instructions, the reader will acquire a practical monitoring solution that integrates affordable sensors, a wireless alert device, and optional professional‑grade measurement equipment.
Although the guide recommends specific products, the concepts are applicable with alternative components. The emphasis remains on clear methodology, safety, and reliability, allowing the treadmill owner to customise the system to personal preferences and budget constraints.
What You’ll Need
- Wireless motion detection and alert unit – Greencycle Motion Sensor Door Chime
- Zigbee‑compatible vibration sensor – ThirdReality Zigbee Vibration Sensor
- Arduino‑compatible vibration switch modules – uxcell KY-002 Vibration Switch Module
- Professional vibration meter for calibration – Fluke 805 FC Vibration Meter
- Basic tools: screwdriver set, drill, mounting brackets, wire strippers, and a small breadboard.
- Power sources: AA and AAA batteries or USB‑C charger for the wireless chime, and two AAA batteries for the Zigbee sensor.
Step 1: Assess the Treadmill Structure
Before installing any sensor, the builder should examine the treadmill frame for accessible mounting locations. The ideal position is near the motor housing or the deck where vibration amplitude is highest. Use a non‑magnetic screwdriver to remove the protective panel, exposing the motor bolts without damaging wiring. Measure the distance between the motor and the deck to determine the length of mounting brackets required.
During this assessment, the builder should record baseline vibration levels using the Fluke 805 FC Vibration Meter. The meter provides a severity scale from green (normal) to red (critical), which will serve as a reference when the sensor system is activated. Document the peak velocity values in millimeters per second for future comparison.
Step 2: Select and Prepare the Primary Sensor
The core of the monitoring system is a vibration sensor capable of detecting rapid motion and transmitting an alert. The ThirdReality Zigbee Vibration Sensor offers a 110 dB siren, adjustable sensitivity, and seamless integration with Zigbee hubs. Its four sensitivity levels allow the builder to fine‑tune detection for the specific treadmill model.
Key specifications include:
- Compatibility with Zigbee 3.0 hubs such as Echo Plus, SmartThings, and Home Assistant.
- Adjustable sensitivity via two physical switches.
- Battery life of approximately one year on two AAA cells.
- Price $19.99, rating 4.4/5 from 542 reviews.
To prepare the sensor, insert the AAA batteries, set the sensitivity to medium, and test the built‑in siren by pressing the mute switch. The builder should verify that the sensor registers a vibration when the treadmill belt is manually moved.
Step 3: Install the Wireless Alert Chime
While the Zigbee sensor can trigger smart‑home notifications, an audible and visual alert provides immediate feedback in noisy gym environments. The Greencycle Motion Sensor Door Chime combines a motion detector, LED indicators, and a vibration function, making it suitable for both sound and silent alerts.
Installation steps:
- Mount the receiver unit on a stable surface near the treadmill console using the supplied brackets.
- Attach the motion sensor to the same bracket, orienting it toward the motor housing for optimal detection.
- Power the receiver with three AA batteries or connect a USB‑C cable for continuous operation.
- Program the chime to use a gentle ringtone and enable the LED flash mode, ensuring the user can see the alert even when the treadmill is in use.
Product highlights include 17 selectable ringtones, five volume levels, four LED indicators, and a wireless range of up to 280 m. The device costs $21.99 and holds a 4.5/5 rating from 37 reviews.
Step 4: Connect the Sensors to a Microcontroller (Optional Advanced Option)
For users who desire data logging or integration with custom dashboards, the uxcell KY-002 Vibration Switch Module provides a low‑cost, Arduino‑compatible interface. Each module reacts to vibration by closing a circuit, which can be read as a digital HIGH signal.
Key attributes:
- Operating voltage up to 12 V, suitable for 5 V Arduino boards.
- Omnidirectional detection, allowing placement on any surface of the treadmill frame.
- Anti‑interference design with fixed bolt holes for secure mounting.
- Price $9.39, rating 4.2/5 from 10 reviews.
To integrate, wire the module’s VCC to the Arduino 5 V pin, GND to ground, and the signal pin to a digital input. Upload a sketch that timestamps each vibration event and, optionally, forwards the data to a Wi‑Fi module for remote monitoring.
Step 5: Configure Alerts and Automation
With the Zigbee sensor and wireless chime installed, the builder should configure automation rules within the chosen hub. For example, in SmartThings, create a rule that when the Zigbee sensor reports a vibration above the medium sensitivity threshold, the Greencycle chime emits a loud ringtone and flashes all four LEDs.
Additionally, enable the mute switch on the Zigbee sensor for nighttime use, allowing silent push notifications to a smartphone. This dual‑alert approach ensures that the user receives both immediate on‑site warnings and remote alerts for later analysis.
Step 6: Calibrate the System Using the Professional Meter
After hardware installation, calibrate the system by running the treadmill at various speeds and recording vibration readings from the Fluke 805 FC Vibration Meter. Compare the meter’s velocity values with the activation points of the Zigbee sensor and the KY‑002 modules.
If the sensor triggers too early, reduce sensitivity or reposition the sensor further from the motor. Conversely, if the sensor fails to trigger at high vibration levels, increase sensitivity or add an additional sensor to the network, taking advantage of the Greencycle receiver’s capacity for up to 32 transmitters.
Tips & Pro Tips
- Secure all wiring with zip ties to prevent accidental snagging during treadmill operation.
- Place the wireless chime receiver away from metal surfaces to avoid signal attenuation.
- Periodically check battery levels; low voltage can cause false negatives.
- Use the vibration meter’s four‑level severity scale to define threshold values for alerts.
- Consider mounting a second KY‑002 module on the treadmill deck to capture vertical vibration components.
Troubleshooting
No Alert from Zigbee Sensor: Verify that the sensor is paired with the hub, replace AAA batteries, and ensure the sensitivity switch is not set to the lowest level.
Chime Does Not Emit Sound: Confirm that the receiver has fresh AA batteries or is connected to USB power, and check that the volume level is not set to mute.
False Positives During Normal Use: Adjust the Zigbee sensor’s sensitivity upward or relocate the sensor to a position with less ambient movement.
Conclusion
This guide has demonstrated how to build a reliable DIY treadmill vibration sensor system that monitors, detects, and prevents damage. By assessing the treadmill structure, selecting appropriate sensors, installing a wireless alert chime, optionally integrating a microcontroller, configuring automation, and calibrating with a professional meter, the builder creates a comprehensive safety net. The system combines affordable consumer devices with professional‑grade measurement, offering both immediate alerts and long‑term data for maintenance planning.
Readers are encouraged to implement the steps, customise sensitivity settings, and expand the network as needed. Continuous monitoring will extend the lifespan of the treadmill and enhance user safety.
Products Mentioned in This Guide
Frequently Asked Questions
Why monitor treadmill vibration levels?
Excessive vibration signals bearing wear, misalignment, or structural fatigue, which can cause costly repairs or safety hazards.
What core components are needed for a DIY treadmill vibration sensor system?
A wireless motion‑detection/alert unit (e.g., Greencycle Motion Sensor Door Chime) and a Zigbee‑compatible vibration sensor are the essential parts.
Can alternative sensors be used instead of the recommended Zigbee model?
Yes, any vibration sensor that can transmit data wirelessly (Zigbee, Wi‑Fi, or Bluetooth) and is compatible with your alert device will work.
How does the system alert the user to abnormal vibration?
When the sensor detects vibration beyond a preset threshold, it sends a wireless signal to the alert unit, which triggers an audible chime or push notification.
Is professional‑grade measurement equipment required for accurate monitoring?
No, the DIY setup provides sufficient detection for most users, though professional equipment can be added for more precise analysis if desired.