How to Tell if Your Treadmill Belt Is Misaligned: 7 Simple Tests and Quick Fixes
Introduction
When a treadmill belt drifts to one side, the machine can become noisy, uneven, and potentially unsafe. This guide teaches the reader how to recognize the signs of belt misalignment, perform seven straightforward diagnostic tests, and apply quick fixes that restore smooth operation. By following these steps, one can extend the life of the treadmill, avoid costly repairs, and enjoy a safer workout environment.
What You’ll Need
- Flathead screwdriver or Allen wrench for adjusting belt tension
- Measuring tape or ruler
- Level or carpenter's square (optional)
- Cleaning cloth
- Lubricant for the belt deck
- Replacement belt (if necessary)
The following products are recommended because they are designed specifically for treadmill maintenance and have received positive customer feedback.
Step 1: Visual Centerline Check
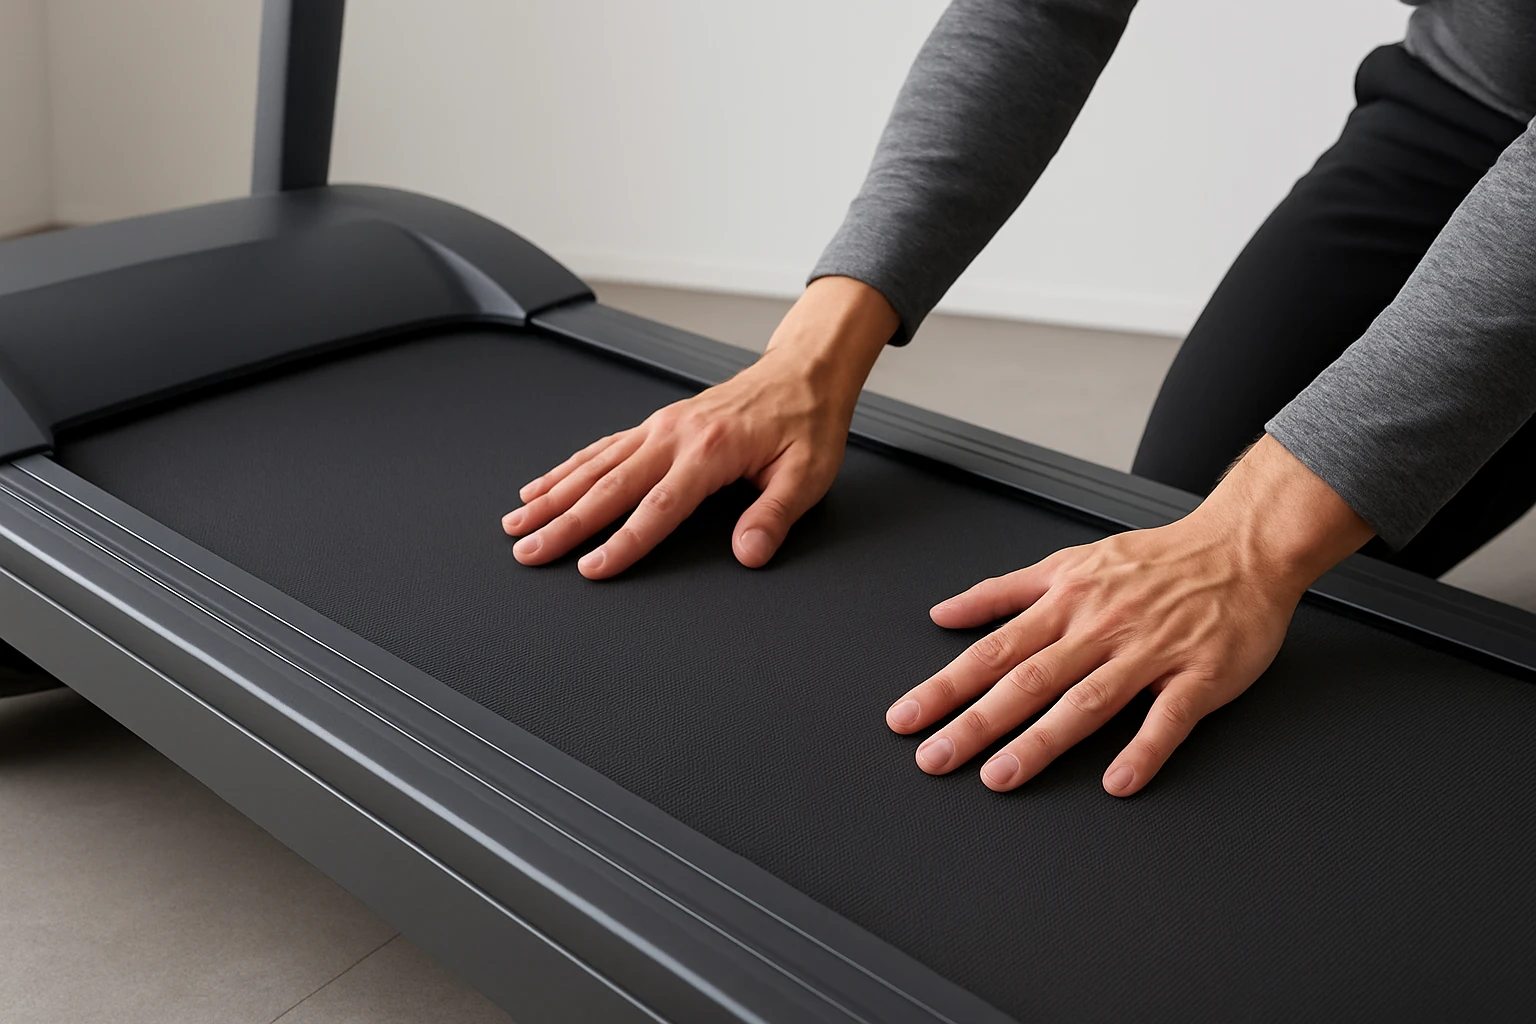
Turn the treadmill off and unplug it. Stand directly in front of the machine and observe the belt from a distance of approximately three feet. The belt should appear centered on the deck, with equal space on both sides of the rollers.
If the belt is noticeably closer to one side, the misalignment is likely present. This visual test is the quickest way to confirm a problem before proceeding to more detailed measurements.
For a belt that is already off‑center, consider replacing it with a high‑quality replacement such as the SHEJIO Treadmill Walking Belt. This belt features a two‑layer commercial design, anti‑static conductive wires, and pre‑lubrication that reduce wear by 20 % compared with traditional PVC belts. Price: $96.99; Rating: 4.7 / 5 (23 reviews).
Step 2: Measure Belt-to‑Deck Gap
Using a ruler, measure the distance between the belt and the deck at the front, middle, and rear of the treadmill. Record the three measurements.
Ideally, the gap should be consistent within a tolerance of 1 mm. A larger gap on one side indicates that the belt is pulling toward that side, confirming misalignment.
If the gap is uneven, the belt may need to be re‑tensioned or the rollers adjusted. The ArrogantF Allen Wrench fits 99 % of residential treadmills and provides the precise torque needed to tighten or loosen the adjustment bolts without stripping them. Price: $9.86; Rating: 3.2 / 5 (11 reviews).
Step 3: Run a Straight‑Line Test
Plug the treadmill back in, set the speed to a low setting (1–2 mph), and observe the belt as it moves. Place a piece of paper on the deck and watch where the belt contacts it.
If the belt consistently contacts the paper on one side, it is drifting. This test simulates normal operation and reveals dynamic misalignment that may not be visible when the machine is stationary.
For a belt that slips during this test, applying a thin layer of Spot On Silicone Lubricant can improve friction balance. The lubricant is pure silicone, odorless, and includes an 8‑inch extension tube for full‑width application without loosening the belt. Price: $9.95; Rating: 4.6 / 5 (15,629 reviews).
Step 4: Check Roller Alignment
Locate the front and rear rollers. Using a level or carpenter’s square, verify that each roller is parallel to the deck and that the two rollers are aligned with each other. Misaligned rollers force the belt to travel unevenly.
If a roller is tilted, loosen the mounting bolts, adjust the roller until it is parallel, and retighten the bolts. The Allen wrench mentioned in Step 2 is ideal for this adjustment because it provides both short and long ends, allowing access to tight spaces.
Step 5: Assess Belt Tension
Press down on the belt at the midpoint with moderate force. The belt should deflect approximately 1–2 cm. Excessive give indicates insufficient tension, while a very stiff belt suggests overtightening.
Adjust the tension by turning the adjustment bolts on the rear roller clockwise to tighten or counter‑clockwise to loosen. Perform small increments and re‑test after each adjustment. Over‑tightening can cause premature wear, while under‑tightening leads to drift.
When a new belt is required, the TreadLife Drive Belt offers an inexpensive compatible option for Horizon T101 models. Although this guide focuses on Gold’s Gym and similar machines, the same principle of a correctly sized belt applies. Price: $17.90; Rating: 4.7 / 5 (9 reviews).
Step 6: Lubricate the Deck
Even a perfectly aligned belt can develop friction hotspots if the deck is dry. Apply a small amount of silicone lubricant to the center of the belt while the treadmill is off. Use the 8‑inch extension tube to reach under the belt and distribute the oil in a wavy motion, ensuring coverage across the full width.
Allow the lubricant to sit for five minutes before running the treadmill at low speed for a minute to spread the oil evenly. Regular lubrication—approximately once per year—prevents noise, reduces wear, and maintains smooth motion.
Step 7: Perform a Final Functional Test
After all adjustments, run the treadmill at a moderate speed (3–4 mph) for five minutes. Observe the belt for any drift, noise, or wobble. If the belt remains centered and operates quietly, the misalignment has been corrected.
If drift persists, repeat Steps 2–5, focusing on incremental adjustments. In rare cases, the motor or deck may be warped, requiring professional service.
Tips & Pro Tips
- Always disconnect power before making mechanical adjustments to avoid accidental start‑up.
- Use a soft cloth to clean dust from the deck before applying lubricant; debris can cause uneven wear.
- When tightening bolts, apply torque in short, alternating turns on each side to maintain balance.
- Keep a maintenance log noting dates of lubrication and adjustments; this helps track the treadmill’s health over time.
- If the treadmill is used heavily (more than 10 hours per week), consider lubricating every six months rather than annually.
Troubleshooting
| Problem | Possible Cause | Solution |
|---|---|---|
| Belt drifts to the right | Rear roller misaligned or tension too loose on right side | Adjust rear roller bolts clockwise on the right side in ¼‑turn increments; re‑test. |
| Noise from belt | Insufficient lubrication or worn belt surface | Apply Spot On Silicone Lubricant and consider replacing belt with SHEJIO Treadmill Walking Belt. |
| Extreme wobble during use | Damaged deck or motor mount | Contact a qualified service technician; DIY adjustments may not resolve structural issues. |
Conclusion
Identifying treadmill belt misalignment does not require specialized expertise. By performing seven simple tests—visual inspection, gap measurement, straight‑line run, roller alignment, tension assessment, lubrication, and a final functional run—one can diagnose and correct most alignment problems. The recommended tools, including the SHEJIO Treadmill Walking Belt, ArrogantF Allen Wrench, and Spot On Silicone Lubricant, make the process efficient and reliable. Regular maintenance based on the tips provided will keep the treadmill operating smoothly for years to come.
Products Mentioned in This Guide
Frequently Asked Questions
How can I tell if my treadmill belt is misaligned?
Look for the belt drifting to one side, uneven wear, or a wobble while running.
What is the visual centerline test for treadmill belts?
With the treadmill off, view the belt from about three feet; it should sit evenly on the deck and align with the machine’s center marks.
How do I adjust a misaligned treadmill belt?
Loosen the rear bolts, turn the adjustment screw on the side opposite the drift a quarter turn, then retighten and retest.
How often should I lubricate my treadmill belt?
Apply treadmill‑specific lubricant every 3‑6 months or after 150‑200 miles of use to keep the belt smooth and prevent drift.
When should I replace the treadmill belt instead of fixing it?
Replace the belt if it has cracks, fraying, permanent stretching, or uneven wear that cannot be corrected by alignment.