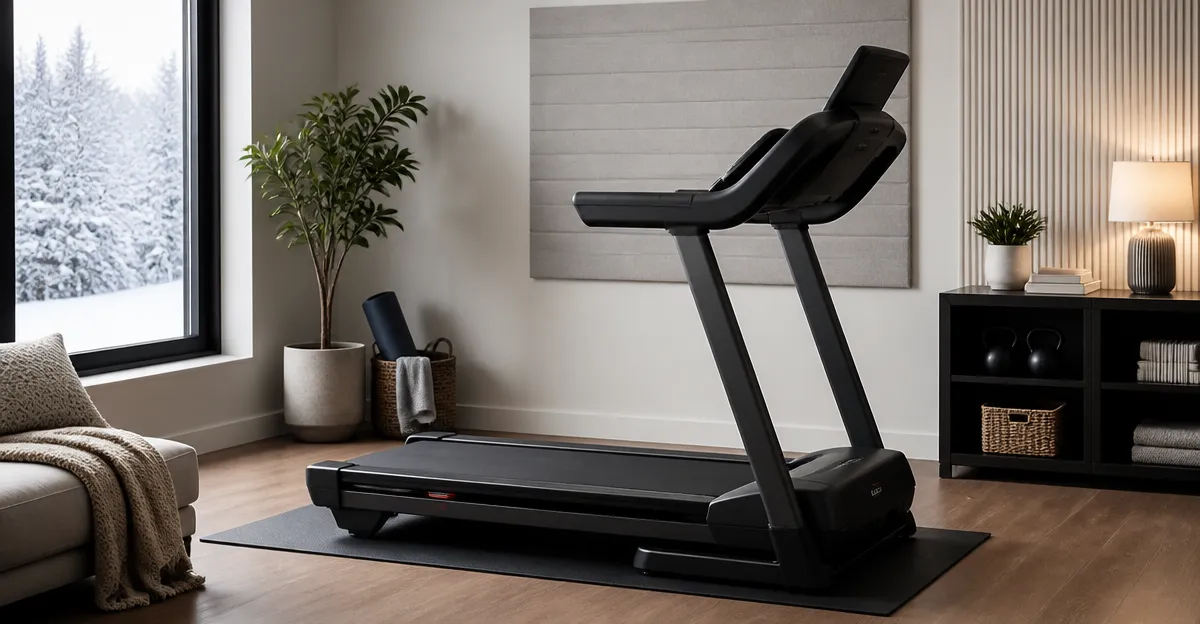
Introduction
When the temperature drops and the windows are shut, the sound of a treadmill can become a dominant disturbance in a home. One can still enjoy a vigorous cardio session without waking the rest of the household or disturbing a quiet winter night. This guide explains ten proven techniques that lower treadmill noise while preserving performance and safety. The reader will also see how specific products can act as tools to achieve a quieter workout environment.
The methods combine simple adjustments, inexpensive accessories, and occasional professional maintenance. Each step is described in a clear, actionable manner so that a person with intermediate fitness knowledge can follow them without difficulty. By the end of the article, the treadmill will operate with a muted footprint, allowing the user to focus on fitness goals rather than on unwanted rattling.
What You’ll Need
- High‑density floor mat (e.g., Stepwaver Walking Pad Mat)
- Additional protective mat for larger equipment (e.g., Amazon Basics Treadmill Mat)
- Rubber underlayment or anti‑vibration pads
- Lubricant specifically formulated for treadmill belts
- Acoustic foam panels or dense curtains
- Door draft stopper to seal gaps
- Basic tool set for tightening bolts
Step 1: Position Your Treadmill on a Stable Surface
Begin by locating the treadmill on a level floor that does not flex under weight. Uneven or soft flooring can amplify vibrations, turning each stride into a resonant thud. Use a carpenter’s level to verify that the machine sits flat; adjust the feet with the supplied wrench if necessary. A stable base reduces the transmission of kinetic energy to surrounding walls and windows.
When the treadmill rests directly on a concrete slab, the noise is naturally lower than on a wooden subfloor. If the home has hardwood or carpet, consider adding a secondary support such as a plywood board beneath the mat to increase rigidity. This structural reinforcement works in conjunction with the floor mat described in the next step.
Step 2: Use a High‑Density Floor Mat
Placing a dense mat between the treadmill and the floor absorbs shock and dampens vibration. The Stepwaver Walking Pad Mat offers industrial‑grade PVC construction, measuring 55 × 23.6 inches, and folds for convenient storage. Its non‑slip surface keeps the treadmill steady, while the waterproof coating allows easy cleaning after sweaty sessions. At $24.99 and a 4.5‑star rating from 1,613 reviewers, it provides a cost‑effective solution for most home gyms.
For larger treadmills or combined cardio stations, the Amazon Basics Treadmill Mat spans 72 × 30 inches, delivering broader coverage and extra cushioning. Priced at $29.35 with a 4.7‑star rating from 4,391 reviews, it excels at noise reduction for equipment that occupies a wider footprint. Both mats share a high‑density PVC core that converts kinetic energy into heat, preventing the floor from resonating.
When selecting a mat, verify that the dimensions exceed the treadmill’s base by at least two inches on each side. This margin ensures that the belt’s outer movement does not overrun the protective surface, which could otherwise generate a clicking noise.
Step 3: Add Rubber Underlayment for Extra Isolation
If the floor is particularly hard, a thin rubber underlayment beneath the primary mat can further isolate vibrations. Cut the underlayment to match the mat’s outline, then lay it directly on the floor before positioning the mat. The combination creates a multi‑layer barrier that absorbs low‑frequency rumble.
Rubber underlayment is inexpensive, typically costing less than $0.50 per square foot, and it does not interfere with the mat’s non‑slip texture. Ensure the material is at least 3 mm thick; thinner sheets may compress under the treadmill’s weight and lose effectiveness.
Step 4: Secure the Treadmill Frame
A loose frame can produce rattling noises as the belt cycles. Inspect all bolts, especially those connecting the deck to the motor housing, and tighten them to the manufacturer’s torque specifications. Use a calibrated torque wrench to avoid over‑tightening, which could damage the frame.
For added stability, the Marcy Fitness Equipment Mat can be placed under the treadmill after the primary mat. Its 1/4‑inch EVA foam surface offers high‑impact resistance and a firm, non‑slip grip that keeps the machine from shifting during intense runs. Priced at $32.98 and rated 4.6 stars by 5,243 users, it is particularly useful for users who incorporate weight‑lifting accessories near the treadmill.
Securing the frame not only reduces noise but also prolongs the lifespan of moving components by preventing unnecessary stress.
Step 5: Lubricate the Belt Regularly
Friction between the belt and deck generates a high‑pitched whine that can travel through walls. Apply a silicone‑based treadmill lubricant to the deck according to the manufacturer’s schedule, typically after every 150 miles of use. Avoid petroleum‑based products, as they can degrade the belt material.
Before lubricating, unplug the treadmill and raise the deck using the service lever. Spread the lubricant evenly, then rotate the belt manually for a few revolutions to distribute the fluid. Excess lubricant should be wiped away to prevent slippage.
A well‑lubricated belt operates smoothly, producing a softer, less intrusive sound that blends into the background rather than dominating the room.
Step 6: Adjust the Incline Mechanism
Some treadmills emit a whining noise from the incline motor when the mechanism is misaligned. Verify that the incline lever moves freely without binding, and listen for any grinding sounds. If necessary, tighten the incline bolts and apply a small amount of lubricant to the gear teeth.
When the incline is set to a fixed position, the motor may still engage intermittently to maintain the angle. Switching to a manual incline model eliminates this source of noise entirely, though it sacrifices automatic adjustments.
Proper alignment ensures that the motor’s vibrations are absorbed by the floor mat rather than being amplified through the treadmill’s chassis.
Step 7: Seal Gaps Around Windows and Doors
Cold winter air often forces windows to rattle, especially when the treadmill’s vibration travels through the building structure. Install a door draft stopper at the base of any door that leads to the workout area. This simple rubber seal reduces the transmission of low‑frequency vibrations into the hallway.
For windows, apply weather‑stripping tape along the perimeter to create a tighter seal. Heavy curtains made of dense fabric also act as acoustic dampeners, absorbing sound that would otherwise echo off the glass.
These measures are inexpensive yet highly effective in preventing external structures from amplifying treadmill noise.
Step 8: Install Acoustic Panels on Adjacent Walls
Hard walls reflect sound waves, increasing perceived volume. Mounting acoustic foam panels or thick fabric panels on the wall directly behind the treadmill can absorb excess noise. Panels with a Noise Reduction Coefficient (NRC) of 0.75 or higher are ideal for this purpose.
Space the panels evenly, covering at least the height of the treadmill’s deck to capture both low and mid‑frequency sounds. Decorative fabric panels can double as aesthetic room décor while providing acoustic benefits.
By treating the surrounding surfaces, the overall reverberation time in the room drops, making the treadmill’s operational sound feel softer.
Step 9: Use a Quiet Fan or Air Purifier for Ambient Noise
Introducing a low‑level background sound can mask residual treadmill noise, making it less noticeable. A quiet desk fan or an air purifier set to a low speed creates a gentle white‑noise effect without adding significant energy consumption.
Place the fan at a distance where its airflow does not interfere with the treadmill’s belt motion. Choose a model with a decibel rating below 35 dB for optimal masking.
This technique is especially useful in multi‑person households where complete silence is unrealistic but a pleasant acoustic environment is desired.
Step 10: Schedule Regular Maintenance and Use a Secondary Mat
Routine inspection of the treadmill’s rollers, belt tension, and motor bearings prevents wear that can translate into louder operation. Follow the manufacturer’s service interval, typically every six months for moderate use.
For users who keep the treadmill in a confined space, adding a secondary mat such as the Fitvids Gym Equipment Mat can protect the floor during maintenance sessions. This 1/4‑inch high‑density mat costs $23.39, carries a 4.7‑star rating from 27,438 reviews, and offers a non‑slip surface that prevents the treadmill from shifting while bolts are being tightened.
Additionally, the THAILE Treadmill Mat provides a foldable, waterproof option for users who need to store the treadmill after workouts. Its 78.7 × 39.4 inch dimensions fit most home models, and the foldable design makes it easy to tuck away in a closet, reducing the footprint and keeping the workout area tidy.
Consistent maintenance combined with proper protective layers ensures that the treadmill remains quiet throughout the winter months.
Tips & Pro Tips
- Test the treadmill after each adjustment by running at a moderate speed for two minutes; listen for any new sounds before proceeding.
- When cutting a mat to fit irregular spaces, use a sharp utility knife and a straight edge to achieve clean edges.
- Apply a thin layer of silicone spray to the motor housing if it begins to emit a high‑pitched whine; this can dampen metal‑on‑metal vibration.
- Keep the workout area well‑ventilated to prevent overheating, which can cause the motor to work harder and generate more noise.
Troubleshooting
Problem: Persistent rattling despite a floor mat.
Solution: Verify that all bolts are tightened, inspect the deck for loose screws, and add a secondary rubber underlayment beneath the existing mat.
Problem: High‑frequency squeal during belt movement.
Solution: Re‑lubricate the belt using a silicone‑based product and check for belt alignment; a misaligned belt can create friction that manifests as a squeal.
Problem: Vibration felt through the ceiling.
Solution: Install acoustic panels on the wall behind the treadmill and seal window gaps to prevent structural transmission.
Conclusion
By following these ten steps, a user can dramatically reduce treadmill noise while keeping windows closed during the cold season. The combination of a high‑density floor mat, proper equipment alignment, acoustic treatment, and regular maintenance creates a quiet, efficient workout environment. Readers are encouraged to implement the recommendations gradually, testing the impact of each change before moving to the next. With a quieter treadmill, fitness goals can be pursued without disturbing household harmony.
Products Mentioned in This Guide
Frequently Asked Questions
How can a high‑density floor mat reduce treadmill noise indoors?
A dense mat absorbs vibrations from the treadmill belt and motor, preventing them from resonating through the floor and walls.
What simple adjustments can lower treadmill rattling during winter workouts?
Tighten loose bolts, align the belt, and ensure the treadmill is level to minimize excess vibration.
Do rubber treadmill pads work for larger home gyms?
Yes, rubber pads provide extra cushioning and isolation for heavier equipment, further dampening sound.
How often should I lubricate my treadmill belt to keep it quiet?
Lubricate the belt every 3‑6 months or after 150‑200 miles of use, following the manufacturer’s guidelines.
Can closing windows and using a door draft stopper help with treadmill noise?
Closing windows blocks external echo, and a draft stopper seals gaps, both reducing the perceived loudness of the treadmill.