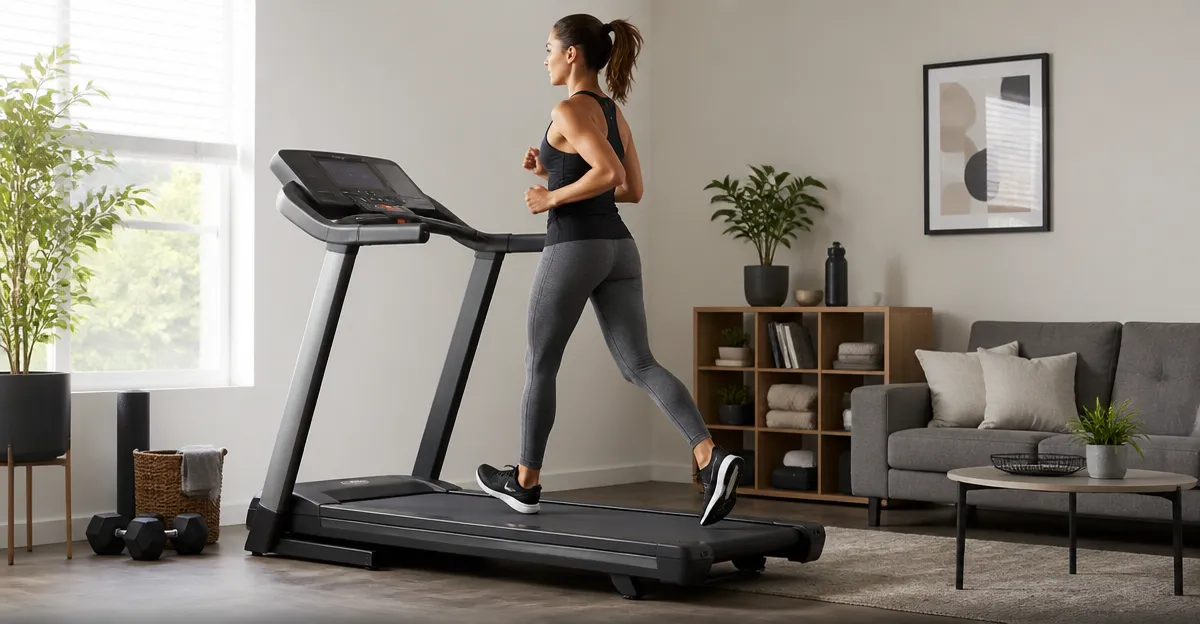
How to Run Treadmill Safety Drills at Home: A Step‑by‑Step Guide for Families and Roommates
Introduction
Running a treadmill in a shared living space introduces unique safety challenges. This guide explains how to design and execute treadmill safety drills that protect every user, reinforce emergency‑stop habits, and reduce the risk of injury. By the end of the article, readers will understand the importance of a functional safety key, know how to install one correctly, and be able to conduct repeatable drills that build confidence for families and roommates alike.
Because the safety key is the primary mechanism that halts the belt when a user falls or steps away, a reliable replacement is essential. The guide integrates several highly rated safety‑key products, comparing their features, price, and compatibility so that readers can select the most suitable tool for their treadmill model.
What You’ll Need
- One or more treadmill safety keys (magnetic or square type) compatible with your treadmill model.
- A clean, unobstructed workout area with sufficient lighting.
- Stopwatch or timer for timing drill intervals.
- Notebook or digital device for recording observations.
Below are five recommended safety‑key products that satisfy the above requirements. Each entry includes a brief description, price, and rating sourced from Amazon.
Step‑by‑Step Instructions
Step 1: Assess the Treadmill and Verify Compatibility
Begin by locating the safety‑key slot on your treadmill. Most modern treadmills use a round magnetic key, while older models may require a square, non‑magnetic key. Consult the user manual or inspect the original key to determine the shape and size.
If the original key is missing or damaged, select a replacement that matches the required format. For round magnetic systems, the GCQ Treadmill Safety Key is a universal option that fits 99% of treadmills, including NordicTrack, ProForm, and Weslo. It is constructed from ABS plastic, features a strong magnet, and includes a 3‑foot nylon rope for secure attachment. Priced at $6.59 with a 4.7‑star rating from over 3,000 reviews, it offers excellent value.
For users who prefer a slightly smaller magnet, the ZENGZHIC Safety Switch provides a 0.7‑inch magnet diameter and a one‑meter cord. At $5.49 and a 4.7‑star rating, it is a budget‑friendly alternative that clips easily to clothing.
If your treadmill uses a square key, the IMPRESA Safety Key Clip is designed specifically for that format. Made of rigid ABS plastic with a braided nylon cord, it fits over 2,000 models and costs $6.49 with a 4.6‑star rating.
When you need multiple backups, the NQEUEPN Universal Safety Keys provide a two‑piece pack for $7.99, ensuring you have a spare in case of loss during drills.
Finally, the Thlevel Safety Key offers comparable magnetic strength to the GCQ model at the same price point of $6.59 and a 4.6‑star rating, making it a solid secondary choice.
Step 2: Install the Safety Key Correctly
Once you have selected the appropriate key, follow these actions:
- Turn off the treadmill and unplug it to avoid accidental start.
- Locate the magnetic slot (often on the front console) or the square key slot near the belt drive.
- Insert the key so that the magnet faces the internal sensor; you should feel a slight click.
- Attach the nylon cord to a secure point on your clothing—preferably the waistband or a shirt collar—so that the cord remains taut while you run.
The GCQ and Thlevel keys both feature a 1‑meter cord that is long enough to allow free arm movement yet short enough to trigger the emergency stop if you move away from the console. The ZENGZHIC switch’s compact design reduces the chance of snagging on equipment, making it ideal for households with children.
For square‑key models, the IMPRESA clip includes a reinforced braided cord that resists fraying during repeated drills. Verify that the clip is firmly secured to your clothing; a loose clip may fail to disengage the treadmill during a simulated fall.
Step 3: Conduct the Emergency‑Stop Drill
With the safety key in place, gather all participants—family members, roommates, or children—and explain the purpose of the drill: to practice a rapid, safe response when the treadmill must stop immediately.
- Start the treadmill at a low speed (1–2 mph) and have the primary user begin walking.
- After 30 seconds, instruct the user to simulate a loss of balance by stepping off the belt while keeping the safety key attached to the clothing. The magnetic connection should break, causing the treadmill to stop instantly.
- Record the time taken for the treadmill to halt. A functional safety key typically stops the belt within one second.
- Rotate roles so each participant experiences both the user and the observer position.
During the drill, the magnetic strength of the GCQ, Thlevel, and NQEUEPN keys ensures a reliable disconnect, while the ZENGZHIC switch’s quick‑release clip offers an additional safety margin for younger users.
If the treadmill does not stop promptly, double‑check that the magnet is correctly aligned and that the cord is not tangled. Replace the key with a new unit from the same product line if the problem persists.
Step 4: Review Drill Results and Reinforce Safe Practices
After each drill, gather feedback from participants. Ask questions such as:
- Did the safety key detach smoothly?
- Was the stop time acceptable?
- Did any clothing become entangled with the cord?
Document the answers in a notebook or digital spreadsheet. Over several weeks, you should observe decreasing stop times and increased confidence among users.
Encourage each person to store a spare safety key—such as one of the NQEUEPN pair—in an easily accessible location. This habit prevents downtime if the primary key is lost during a workout.
Step 5: Maintain the Safety Key and Treadmill
Regular maintenance prolongs the life of both the treadmill and its safety key. Follow these recommendations:
- Inspect the magnet and ABS housing for cracks or corrosion weekly.
- Check the nylon cord for fraying; replace the key if the cord shows signs of wear.
- Clean the key with a damp cloth; avoid harsh chemicals that could degrade the ABS plastic.
- Test the emergency stop monthly, even when not conducting formal drills.
Products such as the GCQ and Thlevel keys include a free‑replacement policy, providing peace of mind if a defect arises. The IMPRESA and ZENGZHIC models also offer responsive customer service, as reflected in their high review scores.
Tips & Pro Tips
- Use color‑coded cords. The GCQ key is available in black and red; assign a color to each household member to quickly identify whose safety key is in use.
- Position the clip on the dominant side. This reduces the chance of accidental release during arm swings.
- Practice with low speeds first. New users should become comfortable with the stop mechanism before increasing intensity.
- Keep a spare key within arm’s reach. The two‑piece NQEUEPN pack ensures you never run out of backups.
- Integrate the drill into weekly fitness routines. Consistency reinforces muscle memory and improves overall safety culture.
Troubleshooting
| Problem | Possible Cause | Solution |
|---|---|---|
| Treadmill does not stop when key is removed | Magnet misaligned or weak | Re‑insert the key ensuring the magnetic face contacts the sensor; if issue persists, replace with a new GCQ or Thlevel key. |
| Cord snaps or frays | Wear over time | Replace the safety key; consider the NQEUEPN pack for an immediate spare. |
| Clip slips from clothing | Clip size unsuitable for fabric | Switch to a smaller clip model (e.g., ZENGZHIC) or attach to a tighter garment such as a sports bra. |
Conclusion
Implementing treadmill safety drills at home equips families and roommates with the skills needed to react instantly to falls or equipment malfunctions. By selecting a reliable safety key—whether the GCQ universal magnet, ZENGZHIC switch, IMPRESA square clip, NQEUEPN dual set, or Thlevel alternative—users can ensure that the treadmill stops within seconds, minimizing injury risk. Regular practice, documentation, and maintenance create a culture of safety that benefits every household member.
Begin today by inspecting your treadmill, installing a compatible safety key, and running a short drill. Over time, the habit will become second nature, allowing everyone to enjoy cardio workouts with confidence.
Products Mentioned in This Guide
Frequently Asked Questions
Why is a treadmill safety key essential for home workouts?
The safety key stops the belt instantly if the user falls or steps away, preventing injuries and equipment damage.
How do I install a magnetic safety key on my treadmill?
Slide the magnetic key into the designated slot on the console, ensuring it clicks securely before use.
How often should families or roommates practice treadmill safety drills?
Conduct a short drill at least once a month, or after any new user starts using the treadmill.
Can I use a square‑type safety key on a treadmill that originally came with a magnetic key?
Only if the treadmill’s safety slot is compatible; check the manufacturer’s specifications before swapping types.
What items do I need to run an effective treadmill safety drill?
A compatible safety key, a clear workout area, a timer or stopwatch, and a notebook to record observations.