Introduction
One often wonders how to keep a treadmill stable in an apartment where drilling is prohibited. This guide explains practical, non‑invasive solutions that protect both the floor and the rental agreement. The reader will learn how to assess the space, select appropriate anti‑slip products, and apply adjustable anchoring methods. By following these steps, one can enjoy a quiet, secure workout without compromising the landlord’s rules.
What You'll Need
- Anti‑slip interlocking floor tiles such as AIRHOP Interlocking Gym Mats
- Heavy‑duty treadmill mat like PROIRON Heavy‑Duty Treadmill Mat
- Adjustable rubber straps or Velcro tie‑downs
- Measuring tape, level, and a soft rubber mallet
- Cleaning cloth and mild detergent
Step 1: Assess Floor and Space
Before any product is placed, one should measure the treadmill footprint and the available floor area. Use a measuring tape to record the length and width of the treadmill base, then verify that the surrounding clearance meets the manufacturer's safety recommendations. A level should be placed on the floor to determine whether the surface is even or has slight inclinations that could cause wobble. If the floor is uneven, the subsequent anti‑slip layer will help to level the treadmill and distribute weight evenly.
Step 2: Choose a Non‑Invasive Anchoring System
Because drilling is not an option, a heavy‑duty mat that absorbs vibration and provides a stable platform is essential. The PROIRON Heavy‑Duty Treadmill Mat offers a dense matrix mesh middle layer that enhances tensile strength, allowing it to withstand high‑intensity training without tearing. At a price of $56.99, it carries a 4.6‑star rating from 329 reviews, indicating reliable performance for renters. Its double‑sided non‑slip texture prevents displacement, while the waterproof surface simplifies cleaning after sweaty sessions.
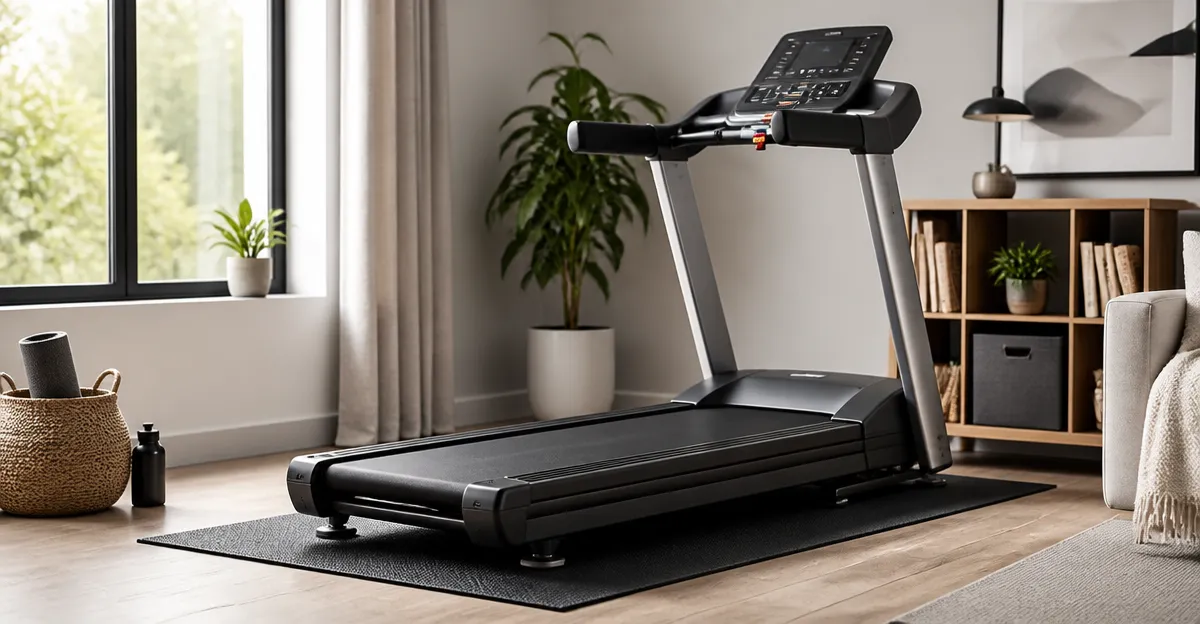
The mat measures up to 78" x 36", providing ample coverage for most treadmill models and leaving a border for additional stability accessories. By placing the treadmill on this mat, one creates a friction‑rich base that reduces the need for permanent fixtures. The mat also dampens noise, which is advantageous in shared living environments.
Step 3: Install Anti‑Slip Underlayment
While the heavy‑duty mat protects the floor, an interlocking tile system adds an extra layer of grip and shock absorption. The AIRHOP Interlocking Gym Mats feature a dual‑layer design with a textured rubber top and high‑density EVA foam bottom. Priced at $139.95 and rated 4.7 stars by 281 reviewers, these tiles are engineered to prevent equipment from scratching the floor and to absorb impact forces.
To install, one spreads the tiles across the desired area, interlocking the 24" x 24" pieces to form a seamless surface. The larger interlocking locks ensure that the tiles remain connected during vigorous workouts. Because the tiles are detachable, they can be reconfigured or removed when the renter moves out, leaving no permanent marks on the underlying floor.
Step 4: Position the Treadmill and Secure with Adjustable Straps
After the mat and tiles are in place, the treadmill should be centered on the combined surface. Use a level to confirm that the treadmill sits flat; any tilt may cause uneven wear on the belt. Next, attach adjustable rubber straps to the treadmill frame’s built‑in anchor points, if available, and loop them around the edges of the interlocking tiles. The straps should be tightened enough to create gentle pressure without deforming the tiles.
This method mimics the effect of anchoring without penetrating the floor. The rubber straps distribute force across a wider area, reducing the risk of tile movement. If the treadmill model lacks anchor points, one can employ heavy‑duty Velcro tie‑downs that adhere to the mat surface and clamp around the treadmill base.
Step 5: Test Stability and Noise
Once the treadmill is positioned and strapped, one should perform a brief test run at low speed. Observe whether the mat or tiles shift; if they do, tighten the straps further or add an additional layer of tiles under the high‑impact zones. Listen for excessive rattling; the combination of the heavy‑duty mat and interlocking tiles should significantly reduce vibration transmitted to the floor.
If the treadmill remains stable and the noise level is acceptable, the installation is complete. For added confidence, one can walk around the perimeter of the setup to ensure that no edges are lifting. Regularly inspect the straps and tiles for wear, especially after months of heavy use.
Tips & Pro Tips
- Place a thin rubber edge guard between the tile border and any wall to prevent accidental chipping.
- Rotate the treadmill 180 degrees every few months to distribute wear evenly across the mat.
- Use a soft rubber mallet to gently tap any loose tile seams back into place.
- Maintain the PROIRON mat by wiping it with a damp cloth after each workout; avoid harsh chemicals that could degrade the surface.
Troubleshooting
Problem: Tiles shift during intense cardio sessions.
Solution: Add an extra row of tiles underneath the treadmill's front and rear rollers, and tighten the straps further.
Problem: Excessive noise despite the mat.
Solution: Ensure the EVA foam layer of the AIRHOP tiles is fully engaged by pressing down on all seams; replace any damaged tiles.
Conclusion
One can anchor a treadmill securely without drilling by combining a heavy‑duty anti‑slip mat, interlocking rubber tiles, and adjustable straps. This approach respects rental agreements, protects the floor, and creates a stable, low‑noise workout environment. By following the step‑by‑step instructions, renters gain confidence that their home gym setup will endure throughout the lease term. The guide encourages readers to implement these non‑invasive solutions and enjoy uninterrupted fitness progress.
Products Mentioned in This Guide
Frequently Asked Questions
How can I keep a treadmill stable in an apartment without drilling?
Use interlocking anti‑slip floor tiles and a heavy‑duty treadmill mat, then secure the machine with adjustable rubber straps or Velcro tie‑downs.
What type of floor covering works best for non‑invasive treadmill anchoring?
Interlocking gym mats like AIRHOP combined with a PROIRON heavy‑duty treadmill mat provide grip and protect the floor.
Do I need any tools to install a non‑drill treadmill anchor system?
A measuring tape, level, soft rubber mallet, and cleaning cloth are sufficient; no power tools are required.
Can the anchoring method be removed without damaging the rental unit?
Yes, the mats and straps can be lifted and stored, leaving the floor untouched and ready for the next tenant.
How do I ensure the treadmill remains quiet and wobble‑free after anchoring?
Place the treadmill centered on the mats, tighten the straps evenly, and check levelness to eliminate movement and noise.