How to Soundproof a Treadmill to Stop Floor Vibration: 9 Easy DIY Fixes to Reduce Noise & Protect Your Floors
Introduction
Anyone who exercises on a treadmill in an apartment or shared living space quickly learns that the machine can generate noticeable vibration and noise. Excessive vibration not only disturbs neighbors but also accelerates wear on the treadmill and can damage hardwood or laminate flooring. This guide explains nine straightforward, do‑it‑yourself fixes that will dramatically reduce noise, isolate vibration, and extend the life of both equipment and floor. By following the steps, one will achieve a quieter workout environment without the need for expensive professional installation.
What You’ll Need
- Anti‑vibration pads (e.g., Phepetroll Anti Vibration Pads)
- Rubber floor mat or interlocking foam tiles
- Non‑slip adhesive tape or double‑sided carpet tape
- Adjustable wrench and screwdriver set
- Leveling tool (a small carpenter’s level or the free level tool included with VIBEGUARD pads)
- Acoustic foam panels (optional for wall treatment)
- Measuring tape and pencil
Step 1: Assess the Vibration Sources
Begin by running the treadmill at a low speed and observing where the most noticeable shaking occurs. Place a piece of paper under each foot of the treadmill; if the paper slides, the base is moving. Record the speed at which the vibration becomes disruptive, as this information will guide the selection of appropriate isolation methods. Understanding the exact points of movement ensures that subsequent steps target the problem efficiently.
Step 2: Isolate the Treadmill Base
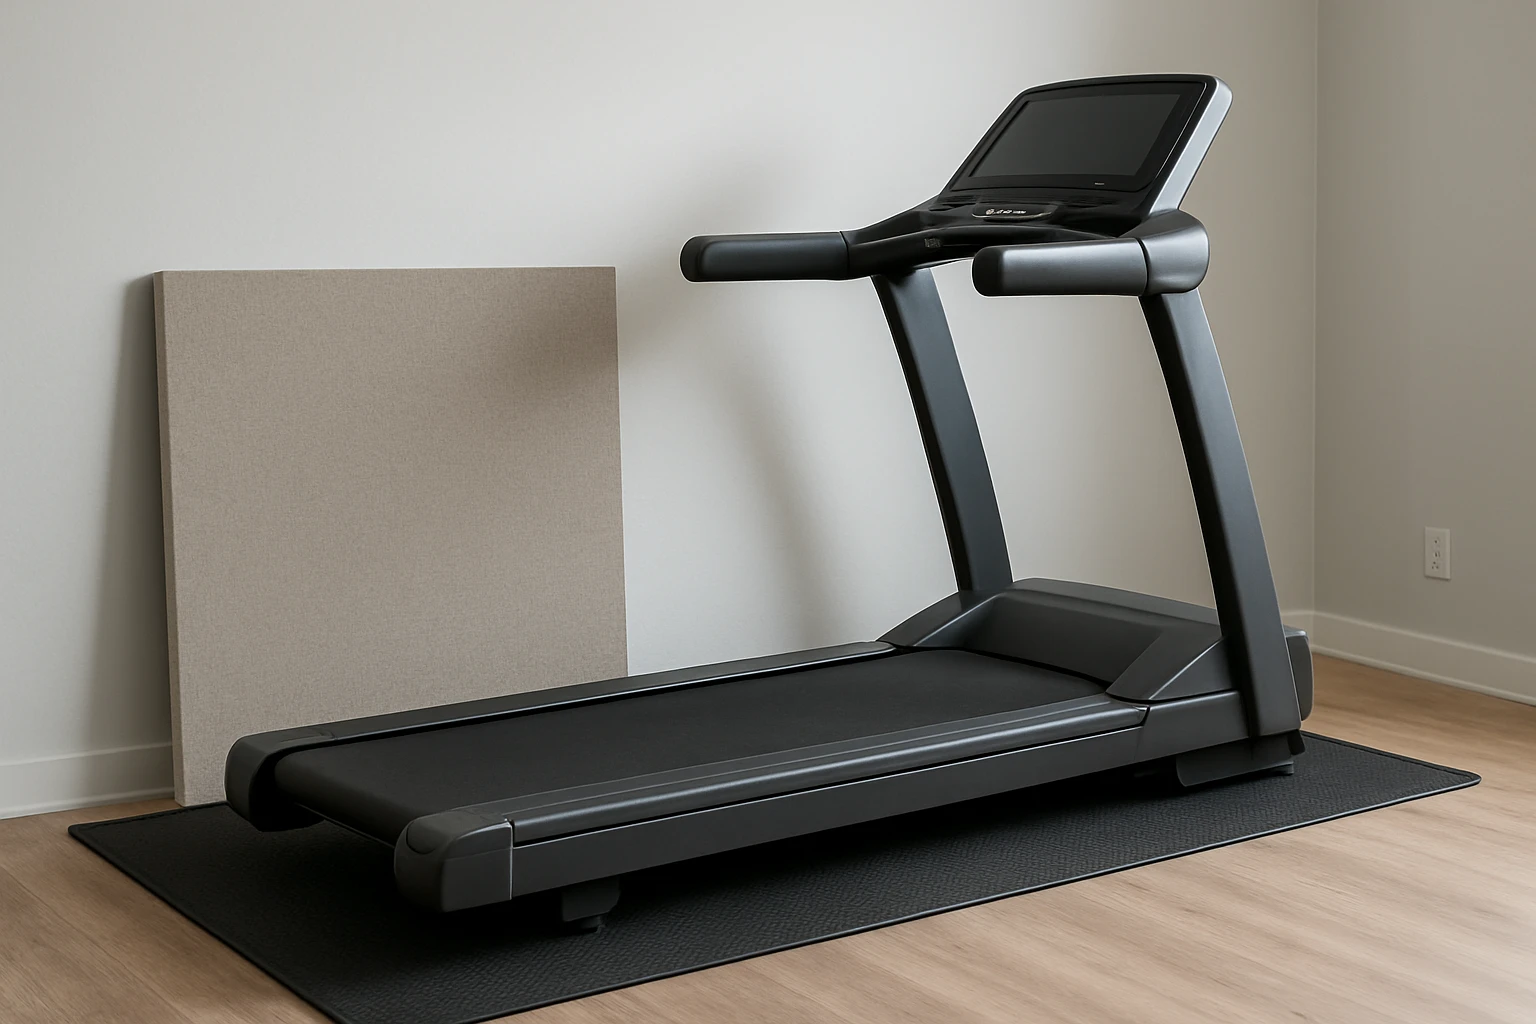
The treadmill’s frame rests directly on the floor, allowing mechanical energy to transfer into the subfloor. By creating a thin barrier between the machine and the surface, one can absorb a large portion of that energy. A rubber floor mat or a set of interlocking foam tiles works well for this purpose because the material compresses under load and returns to its original shape, dissipating vibration. Lay the mat on a clean, dry area of the floor, ensuring it extends at least two inches beyond each side of the treadmill.
Step 3: Install Anti‑Vibration Pads
For the most effective isolation, place dedicated anti‑vibration pads beneath each treadmill foot. The Phepetroll Anti Vibration Pads are engineered with a high‑strength rubber core and a blue EVA layer that excels at sound and vibration damping. Each pad measures 4" × 4" × 7/8" and can support up to 960 lb, which exceeds the weight of most residential treadmills. The ribbed rubber surface provides a non‑slip grip, preventing the treadmill from sliding during intense workouts. At a price of $28.97 and a rating of 4.4 / 5.0 from 323 reviews, these pads offer a cost‑effective solution with proven durability.
Step 4: Add a Secondary Rubber Mat (Optional)
If the floor is particularly hard, such as concrete or tile, a secondary rubber mat can be placed on top of the anti‑vibration pads. This additional layer further decouples the treadmill from the subfloor and reduces the transmission of low‑frequency vibrations. Choose a mat that is at least 1/4‑inch thick and cut it to the footprint of the treadmill for a seamless appearance. Secure the mat with non‑slip adhesive tape to prevent shifting during use.
Step 5: Secure the Floor with Adhesive Strips
Even with pads, the treadmill may generate a slight rocking motion that can cause the pads to move over time. Applying a high‑quality double‑sided carpet tape to the bottom of each pad creates a semi‑permanent bond while still allowing removal for maintenance. The tape should be applied in a cross‑hatch pattern to maximize surface contact. This step ensures consistent performance and eliminates the need for frequent readjustment.
Step 6: Level the Machine Accurately
Uneven flooring can amplify vibration because one side of the treadmill bears more load than the other. Use a small carpenter’s level to check each corner of the treadmill after the pads are in place. If a corner is higher, adjust the corresponding pad by inserting a thin piece of cardboard underneath until the machine is perfectly level. Proper leveling distributes weight evenly, reduces stress on the motor, and minimizes noise.
Step 7: Tighten Bolts and Inspect the Belt
Loose bolts in the treadmill frame or a worn belt can create additional rattling that mimics floor vibration. Consult the manufacturer’s manual and tighten all accessible bolts with an adjustable wrench, being careful not to overtighten and strip threads. Inspect the running belt for signs of wear; a loose or frayed belt can generate high‑frequency noise that travels through the floor. Replacing a worn belt or adjusting tension can dramatically improve overall quietness.
Step 8: Apply Acoustic Treatment to the Surrounding Space
Even after isolating the treadmill, sound can still reflect off walls and ceilings, creating a perception of louder operation. Installing acoustic foam panels on the wall directly behind the treadmill absorbs mid‑range frequencies and reduces echo. Panels are typically 2 × 2 feet and can be mounted with removable adhesive strips to preserve wall finish. This optional step is especially valuable in small apartments where sound travels quickly.
Step 9: Perform a Final Noise Test
Run the treadmill at a moderate speed and walk around the room, listening for any residual vibration or rattling. Place a hand on each pad to feel for movement; if any pad shifts, repeat the leveling and adhesive steps. Record the perceived decibel reduction by comparing the sound level before and after installation, using a smartphone sound‑meter app if desired. A successful installation typically reduces perceived noise by 5‑10 dB, creating a noticeably quieter workout environment.
Tips & Pro Tips
- Do not install pads on carpeted floors; the carpet will interfere with the pad’s non‑slip surface and reduce effectiveness.
- If the treadmill is used for high‑intensity interval training, consider using two layers of anti‑vibration pads for extra damping.
- Periodically check the pads for wear; the EVA layer can become compressed over time, diminishing performance.
- For renters, choose pads that can be removed without leaving residue; the Phepetroll pads release cleanly when lifted.
Troubleshooting
Problem: The treadmill still vibrates after installing pads.
Solution: Verify that the floor beneath the pads is completely flat. Use a straightedge to detect any low spots, and fill them with a thin layer of self‑leveling compound before reinstalling the pads.
Problem: Pads become slippery over time.
Solution: Clean the pad surfaces with mild soap and water, then dry thoroughly. Re‑apply non‑slip adhesive tape if necessary.
Conclusion
By following these nine DIY steps, one can dramatically reduce treadmill‑induced floor vibration, protect delicate flooring, and enjoy a quieter exercise routine. The combination of high‑quality anti‑vibration pads, proper leveling, and acoustic treatment provides a comprehensive solution that is both affordable and easy to implement. Readers are encouraged to apply the methods outlined in this guide and experience the immediate benefit of a more peaceful home gym.
Products Mentioned in This Guide
Frequently Asked Questions
What are the most effective DIY methods to reduce treadmill vibration on hardwood floors?
Place anti‑vibration pads under the treadmill’s feet and add a rubber floor mat or interlocking foam tiles to absorb shocks.
Can anti‑vibration pads damage my treadmill over time?
No, they are designed to isolate vibration without stressing the machine’s frame when properly sized.
How do I ensure the treadmill stays level after installing soundproofing materials?
Use a small carpenter’s level and adjust the treadmill’s feet with an adjustable wrench until the bubble is centered.
Will soundproofing a treadmill affect its performance or speed accuracy?
When installed correctly, pads and mats do not interfere with the treadmill’s mechanics or speed sensors.
Is it necessary to use non‑slip adhesive tape in addition to pads and mats?
Yes, tape secures the pads and mat to prevent shifting during intense workouts, maintaining consistent vibration reduction.