How to Build a Portable Treadmill Sound Booth: Step‑by‑Step DIY Plans for Quiet Home Workouts
Introduction
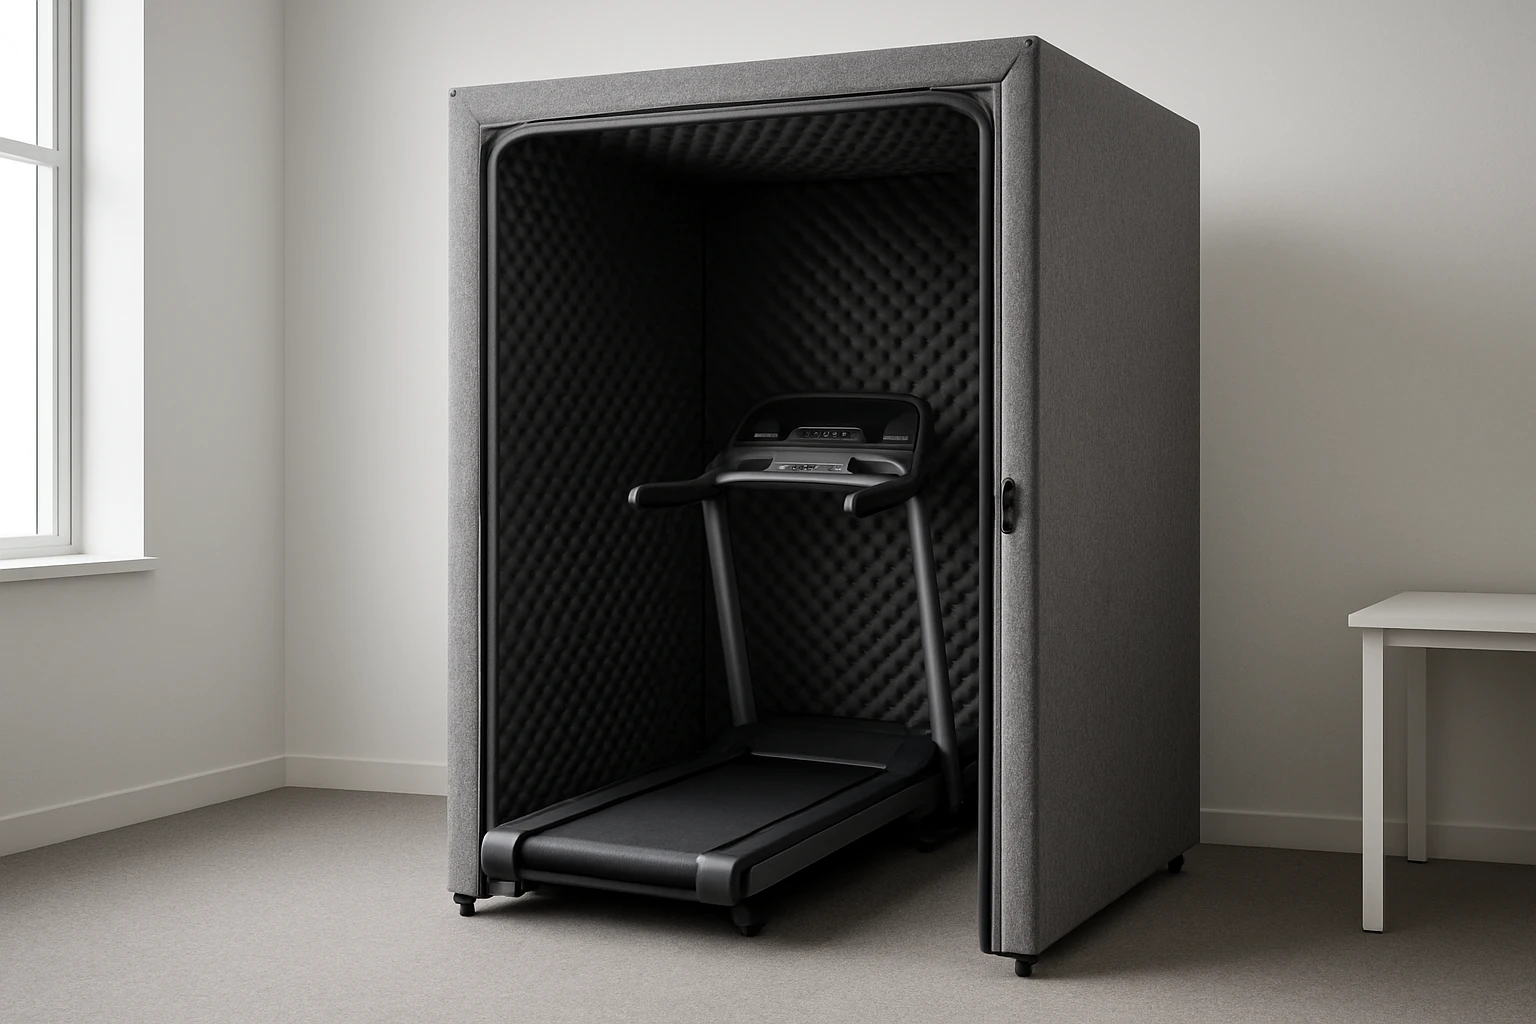
One often discovers that running on a treadmill at home creates unwanted noise that disturbs family members or neighbors. This guide explains how to construct a portable sound booth that isolates treadmill vibrations and muffles acoustic output, allowing for focused workouts at any time of day. By following the detailed steps, readers will learn to select appropriate materials, assemble a sturdy enclosure, and fine‑tune acoustic treatment for optimal quietness. The result is a flexible, cost‑effective solution that enhances both fitness and home harmony.
What You’ll Need
- COMEYLY Treadmill Mat – 79" × 39.4" high‑density PVC mat ($39.99, 4.7★/5 based on 14 reviews)
- NEPIS Acoustic Panels – 20‑piece 12"×12" foam set ($35.99, 4.3★/5 based on 365 reviews)
- 2×4 lumber (8 ft length, quantity depends on booth size)
- Wood screws (2½"), drill, and screwdriver
- Heavy‑duty Velcro strips or zip ties for securing panels
- Measuring tape, level, and pencil
- Optional: carpet tape, corner brackets, and a folding gate for easy access
Step 1: Measure and Plan Your Booth Layout
Begin by measuring the footprint of your treadmill; most home units require a space of approximately 70" × 35". Add an extra 10" on each side to accommodate the acoustic panels and provide clearance for the mat, resulting in a final footprint of roughly 90" × 55". Sketch a simple rectangular frame on paper, marking the locations of the mat, panel placement, and door opening. This planning stage ensures that the booth remains portable while still delivering sufficient sound isolation.
Step 2: Prepare the Base with the COMEYLY Treadmill Mat
Lay the COMEYLY Treadmill Mat on the floor where the booth will sit. The mat’s 0.25" thickness provides shock absorption, reducing vibration transmission to the subfloor and protecting hardwood or carpet from dents. Its non‑slip dual‑sided surface keeps the treadmill stable during high‑intensity runs, preventing unwanted movement that could compromise the booth’s integrity. Secure the mat corners with carpet tape if additional grip is desired.
Step 3: Construct the Frame
Cut four 2×4 pieces to the desired length of the booth’s longer side (approximately 90") and four pieces for the shorter side (approximately 55"). Assemble a rectangular frame using wood screws, ensuring each corner forms a right angle with a level. Reinforce the joints with metal corner brackets for added stability, especially if the booth will be moved frequently. The resulting skeleton will support both the acoustic panels and any additional sealing material.
Step 4: Attach the NEPIS Acoustic Panels
Affix the NEPIS Acoustic Panels to the interior walls of the frame using heavy‑duty Velcro strips; this method allows panels to be removed for cleaning or reconfiguration. The panels’ high‑density 14.35 lb/ft³ foam and NRC rating above 0.95 absorb both low‑frequency thumps and high‑frequency hiss generated by the treadmill motor. Position panels evenly, covering at least 70% of the interior surface to achieve optimal noise reduction. The brick‑style design also adds a professional aesthetic, making the booth suitable for home studios or office spaces.
Step 5: Seal Gaps and Add Door Access
Use weather‑stripping tape or acoustic sealant along the top and bottom edges of the frame to prevent sound leakage. Install a lightweight folding gate or a hinged plywood door that can be secured with a simple latch; this maintains portability while allowing quick entry for treadmill adjustments. Ensure the door overlaps the acoustic panels slightly, creating an additional barrier that reduces sound escape when the booth is closed.
Step 6: Position the Treadmill and Test
Place the treadmill on the COMEYLY Mat inside the assembled frame, aligning it centrally to balance acoustic treatment on all sides. Power on the treadmill at a low speed and walk around the perimeter, listening for vibrations transmitted through the floor; the mat should dampen these sensations significantly. Increase the speed to a typical workout pace and assess the noise level from outside the booth; the NEPIS panels should attenuate most of the sound, creating a quiet environment for nearby occupants. Make any necessary adjustments, such as adding extra panels or tightening Velcro connections.
Step 7: Enhance Portability
Attach small caster wheels with lock mechanisms to the bottom of the 2×4 frame, allowing the entire booth to be rolled to a different room or stored when not in use. Ensure the wheels are rated for the combined weight of the treadmill, mat, and acoustic panels (approximately 250 lb). When moving the booth, disengage the door latch and lift the frame slightly to prevent the wheels from rolling unintentionally. This step preserves the booth’s flexibility, making it a truly portable solution.
Tips & Pro Tips
- Use a laser level to verify that all frame corners are perfectly square; uneven angles can cause gaps that leak sound.
- Apply a thin layer of acoustic caulk along the seams where panels meet the frame for an extra seal without sacrificing removability.
- If the treadmill produces excessive low‑frequency thumps, consider adding a second layer of the COMEYLY Mat beneath the first for enhanced vibration isolation.
- For aesthetic continuity, paint the exterior of the frame with a low‑VOC paint that matches your home décor; this does not affect acoustic performance.
Troubleshooting
Problem: Noise still escapes when the treadmill is at high speed.
Solution: Add more NEPIS panels to the ceiling and back wall, as low‑frequency energy often reflects upward. Verify that all Velcro connections are fully engaged and consider using additional sealing tape around door edges.
Problem: The treadmill feels unstable on the mat.
Solution: Ensure the mat is fully flattened and free of wrinkles; use carpet tape to secure the mat to the floor, and confirm that the 2×4 frame is not shifting under load.
Conclusion
One now possesses a portable treadmill sound booth that combines vibration isolation, acoustic absorption, and easy mobility. By selecting the COMEYLY Treadmill Mat for floor protection and the NEPIS Acoustic Panels for sound dampening, the construction process becomes straightforward and cost‑effective. The finished booth enables quiet workouts at any hour, preserving the peace of the household while supporting fitness goals. Readers are encouraged to adapt the design to their specific space and share their results with the community.
Products Mentioned in This Guide
Frequently Asked Questions
What materials are needed to build a portable treadmill sound booth?
You need a high‑density treadmill mat, acoustic foam panels, 2×4 lumber, wood screws, a drill, and basic tools for cutting and assembly.
How does a sound booth reduce treadmill noise?
The booth isolates vibrations with the mat and absorbs sound with acoustic panels, preventing noise from escaping into the room.
Can the sound booth be disassembled for storage?
Yes, the frame is built with removable screws, allowing you to take it apart and re‑assemble when needed.
What size should the booth be for a standard home treadmill?
A frame slightly larger than the treadmill—about 84" × 44" × 36" high—provides clearance while keeping the enclosure portable.
Is the portable booth safe for treadmill stability?
When secured to the floor and built with sturdy 2×4s, the booth adds little weight and does not affect treadmill performance.